Docker Projects


Installing docker on ubuntu:-
# step1: updating package list
sudo apt update # This command updates the package list on your Ubuntu system. It retrieves the latest information about available packages and their versions from the Ubuntu repositories. This step ensures that you have the most up-to-date package information before installing Docker.

# step2: Install Dependencies
sudo apt install -y apt-transport-https ca-certificates curl software-properties-common. # In this step, you are installing several necessary dependencies that Docker requires to function correctly:

# step3: Add Docker Repository
curl -fsSL https://download.docker.com/linux/ubuntu/gpg | sudo gpg --dearmor -o /usr/share/keyrings/docker-archive-keyring.gpg # This command fetches the Docker repository's GPG (GNU Privacy Guard) key and saves it as a file named docker-archive-keyring.gpg in the /usr/share/keyrings/ directory.
echo "deb [arch=amd64 signed-by=/usr/share/keyrings/docker-archive-keyring.gpg] https://download.docker.com/linux/ubuntu $(lsb_release -cs) stable" | sudo tee /etc/apt/sources.list.d/docker.list > /dev/null # This command adds an entry to the /etc/apt/sources.list.d/docker.list file, which points to the Docker repository. It uses the GPG key to verify the authenticity of packages from this repository.

# Step4: Install Docker
sudo apt update # update the package list again to include the Docker packages from the newly added repository.
sudo apt install -y docker-ce docker-ce-cli containerd.io # install three Docker-related packages

# Step5: Start and Enable Docker
sudo systemctl start docker # This command starts the Docker service, allowing you to use Docker immediately.
sudo systemctl enable docker # This command configures the Docker service to start automatically on system boot, ensuring that Docker is always available when you restart your EC2 instance.

# verification
sudo docker --version
Project 1: Pull existing image from Docker Hub and Run the Docker Image locally
In this project, we'll explore the world of containerization using Docker. We'll start by pulling an existing Docker image from the Docker Hub, which is a repository of pre-built container images maintained by the Docker community. This image contains a web application that we want to run and access through a web browser.
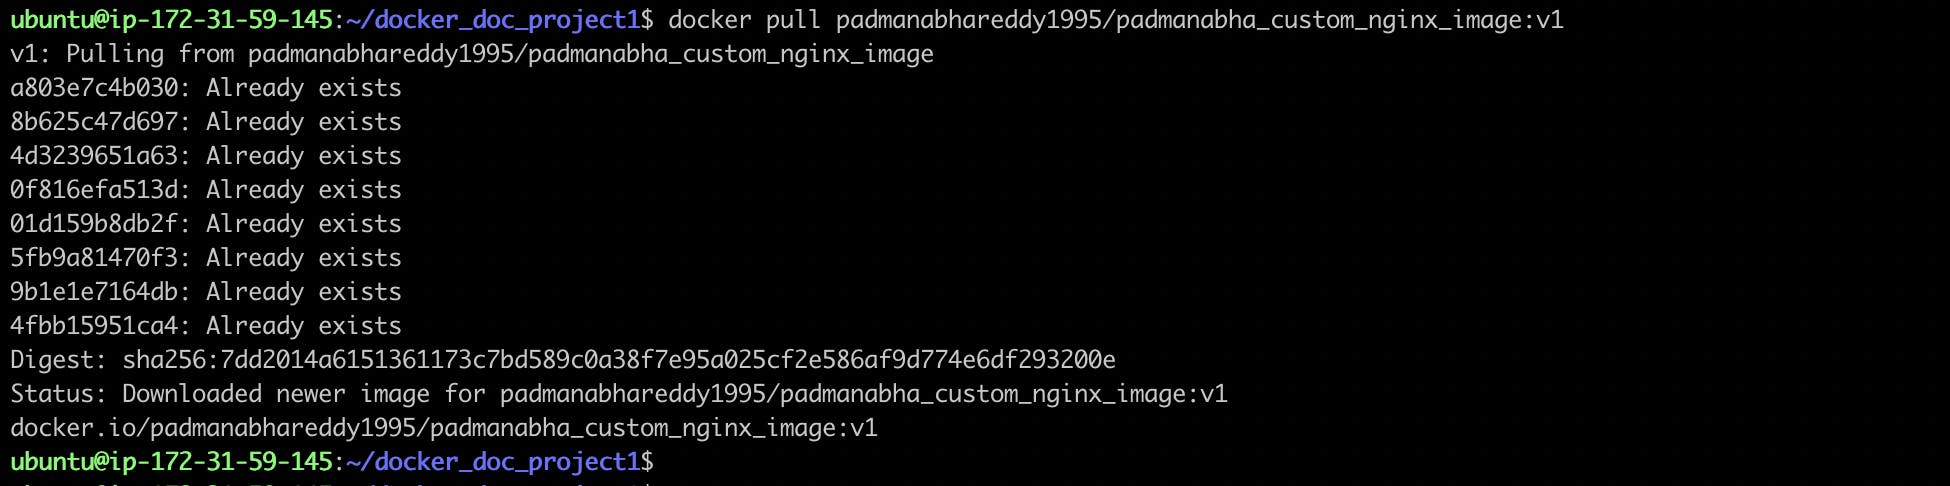
step1: Pull image from docker hub:-
As we run this command, Docker will contact the Docker Hub registry, download the image with the specified tag (v1), and store it locally on our machine. This makes the image available for running containers on your local Docker environment.
docker pull padmanabhareddy1995/padmanabha_custom_nginx_image:v1
step2: verify if the image is downloaded using the following command:-
docker images

step3: Run the downloaded docker image:-
This command starts a Docker container named "app1" based on the specified Docker image. The container will run in detached mode, and port 80 on the host machine is mapped to port 8080 inside the container, allowing you to access the containerized application via port 80 on your host.
docker run --name mynginx1 -p 80:80 -d padmanabhareddy1995/padmanabha_custom_nginx_image:v1

step4: Access the containerised application:-
http://<ip>/<port>

Project 2 Create and execute docker images from Dockerfile:-
In this project, we'll dive deeper into Docker by creating our own custom Docker image from a Dockerfile. We'll then proceed to run this image as a Docker container, allowing us to deploy and access a custom web application through a web browser.
step1:- Create a Dockerfile:-
FROM ubuntu

WORKDIR /app

COPY requirements.txt /app
COPY devops /app

RUN apt-get update && \
    apt-get install -y python3 python3-pip && \
    pip install -r requirements.txt && \
    cd devops

ENTRYPOINT ["python3"]
CMD ["manage.py", "runserver", "0.0.0.0:8000"]
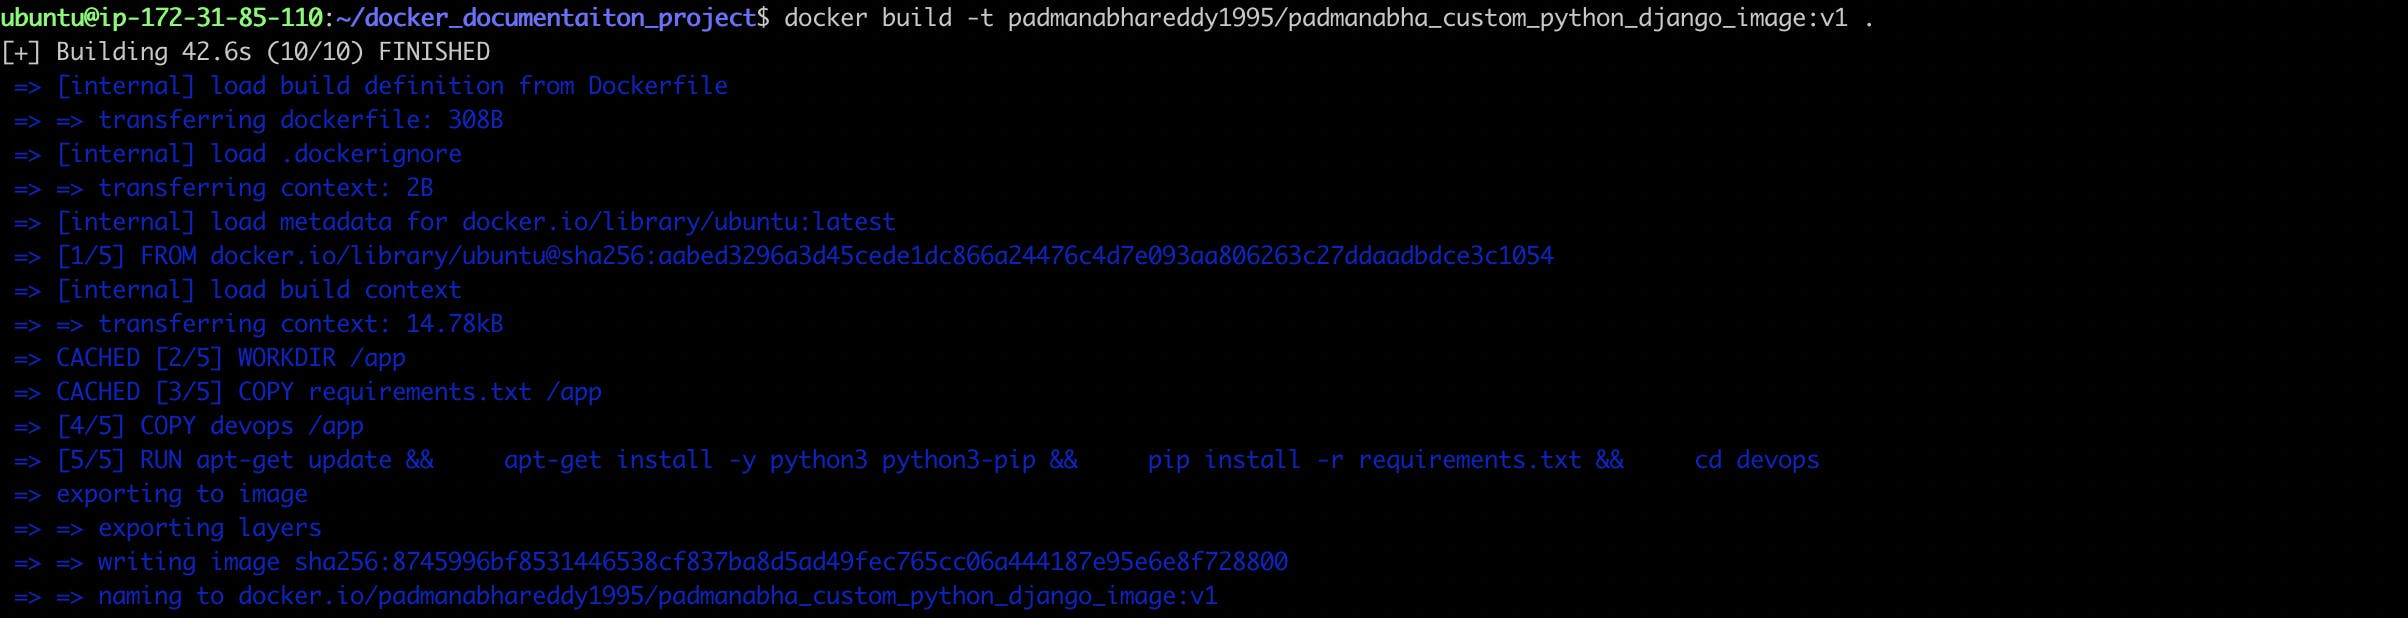
step2: Build a docker image based on the above Dockerfile:-
docker build -t padmanabhareddy1995/padmanabha_custom_python_django_image:v1 .

step3:- Run the docker image:-
docker run --name app1 -p 8000:8000 -d padmanabhareddy1995/padmanabha_custom_python_django_image:v1

step4: Access the containerised application:-
http://<ip>:8000/demo/
